
Deploying a NestJS application using Amazon ECS and RDS
Uploading our Docker image to AWS
Up until now, we have constructed our Docker image on our local machine. In order to proceed with the deployment, it is necessary to upload the image to the Elastic Container Registry (ECR). ECR functions as a container registry, where Docker images can be stored. It operates in a similar manner to Docker Hub. Once we have successfully uploaded our image to the Elastic Container Registry, it becomes accessible for utilization with various other AWS services.
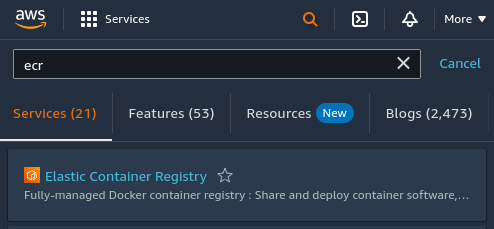
To initiate the process, we should begin by accessing the ECR service.
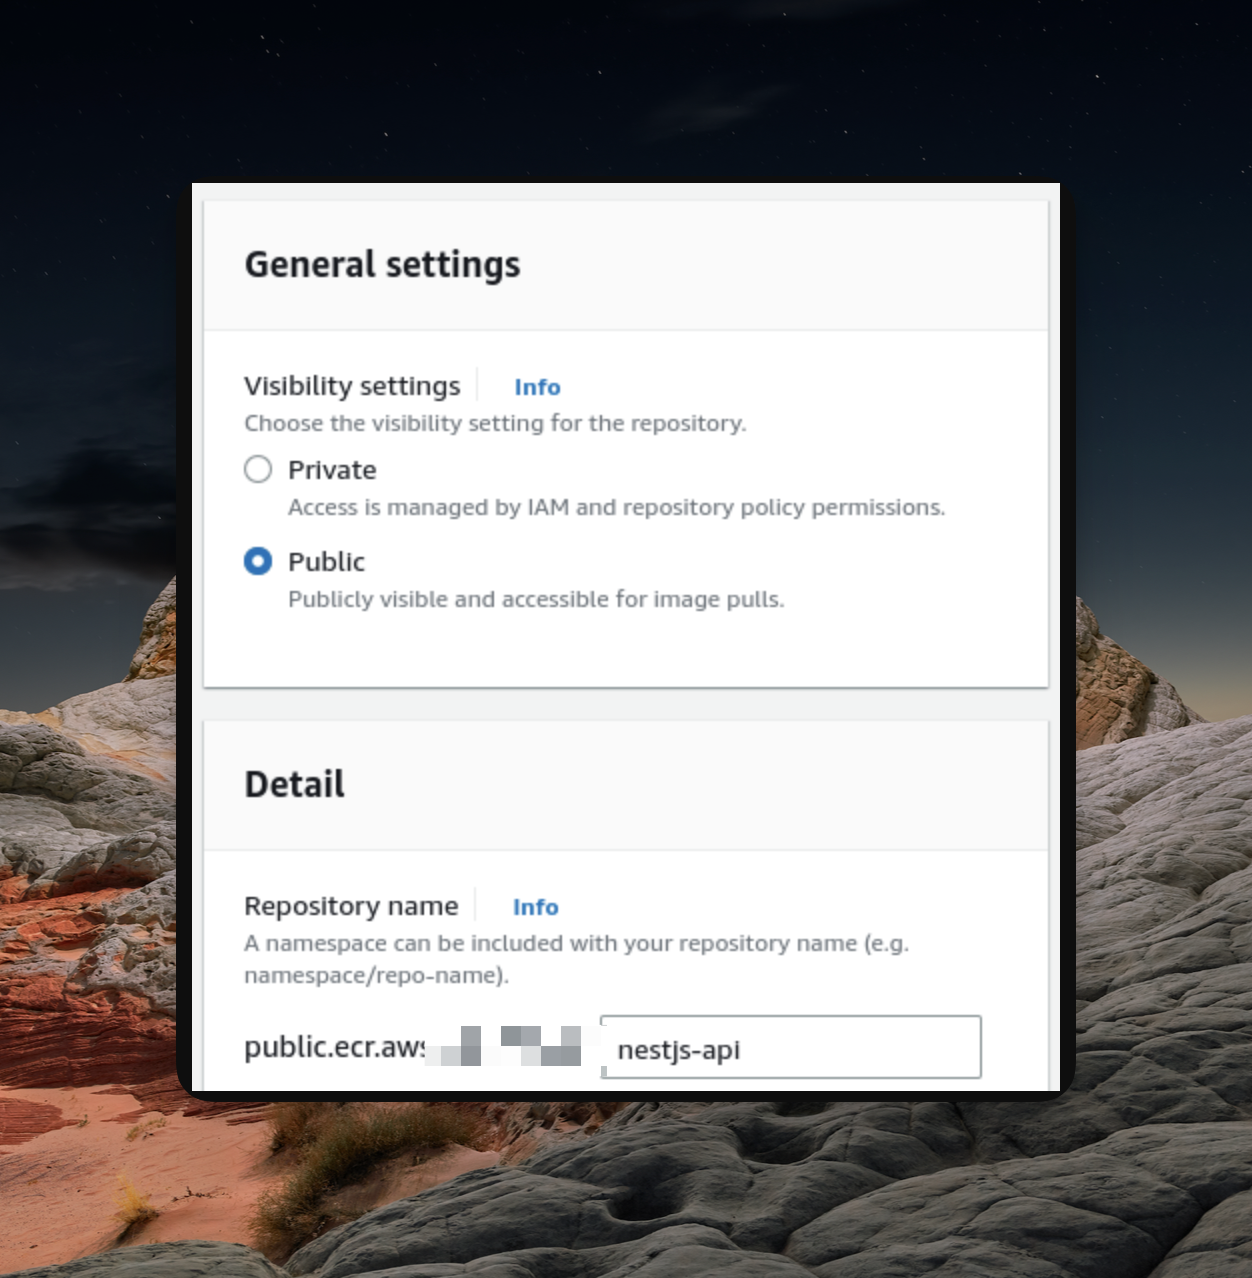
Initially, we must establish a repository specifically for our Docker image.
Authenticating with AWS CLI
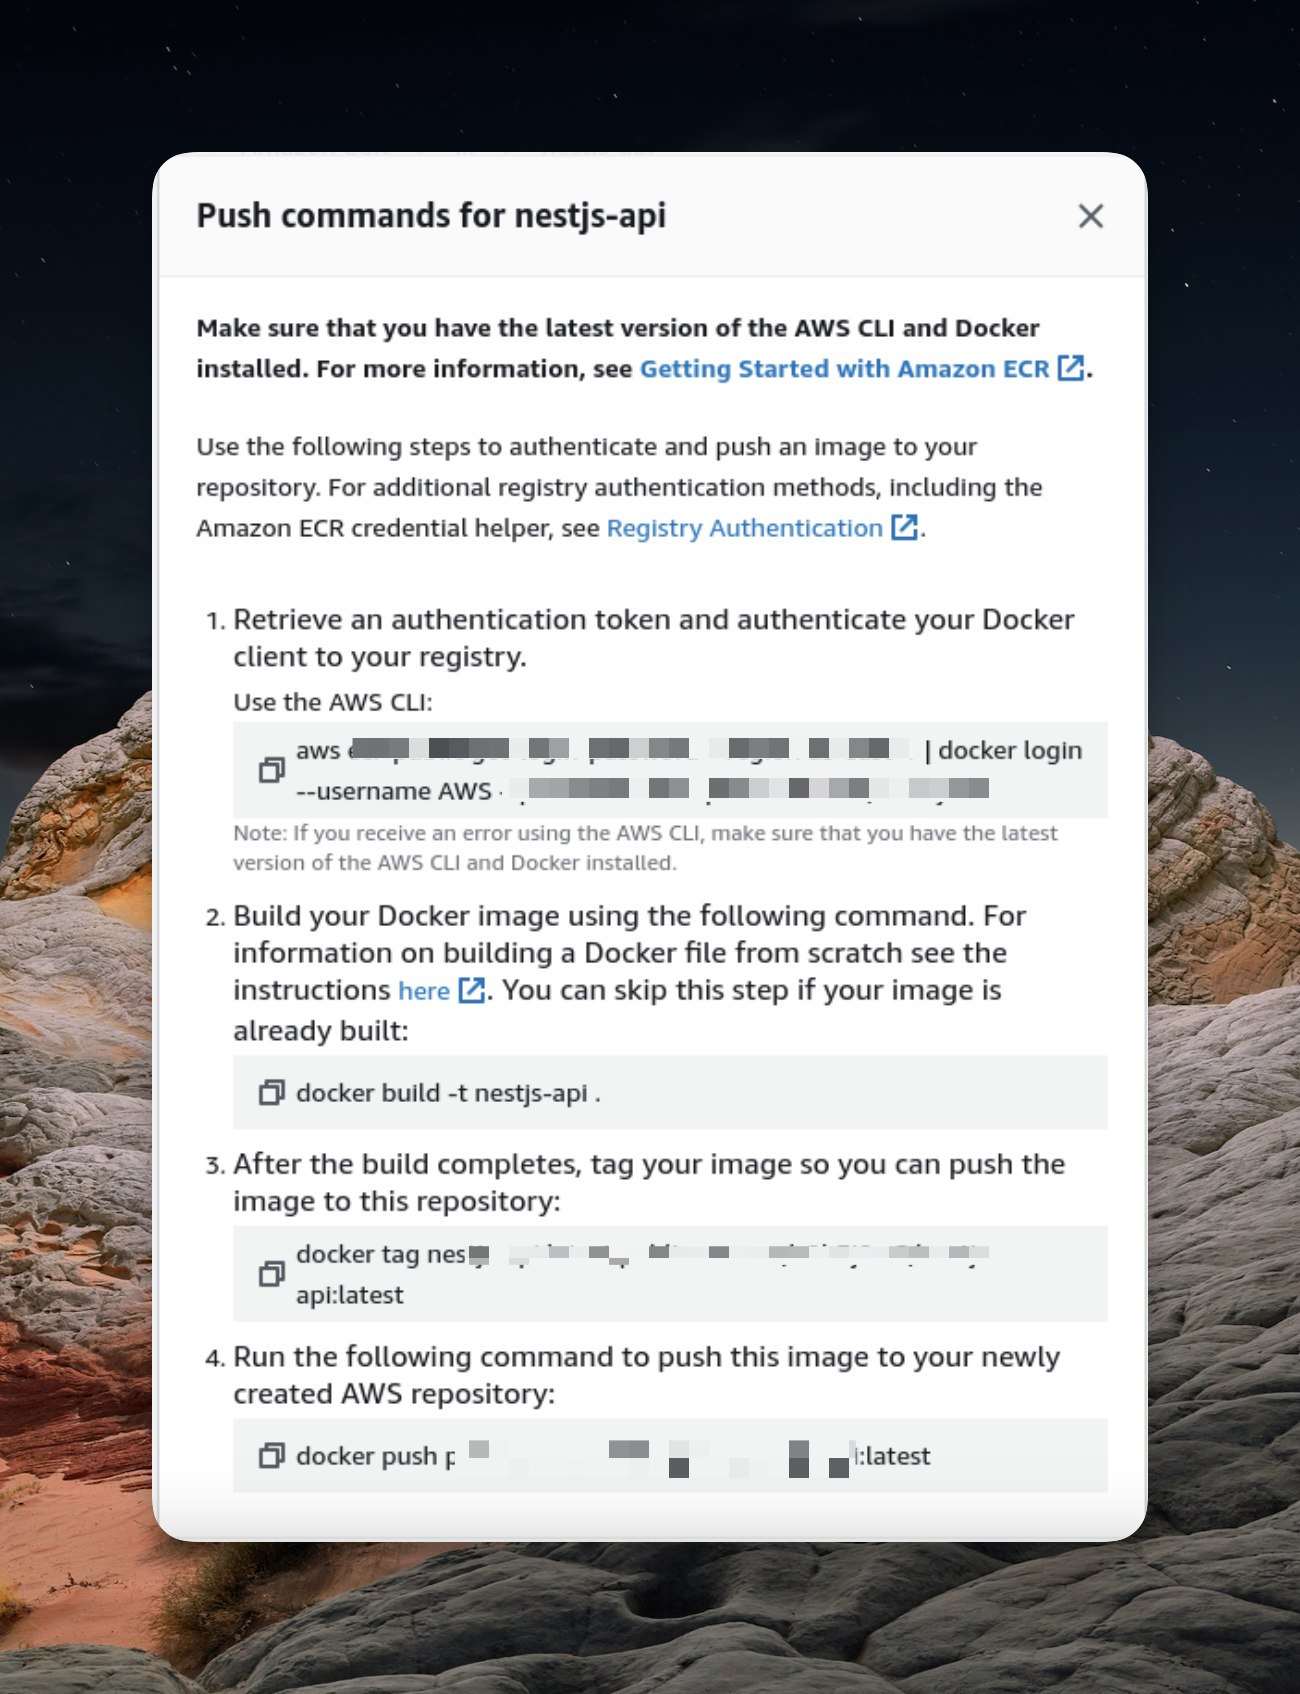
To authenticate with the AWS Command Line Interface (CLI), the first step mentioned in the provided popup, we need to have an understanding of the AWS Identity and Access Management (IAM) service.
IAM enables us to manage access to our AWS resources. When setting up a new AWS account, we initially have the root user, which possesses unrestricted access to all AWS services and resources within the account. However, it is highly discouraged to utilize the root user for everyday tasks. Instead, it is advisable to create an IAM user with limited permissions.
For our specific use case, the IAM user should be granted the "
AmazonElasticContainerRegistryPublicFullAccess
" permission. This permission will enable us to push our Docker image to the ECR (Elastic Container Registry).

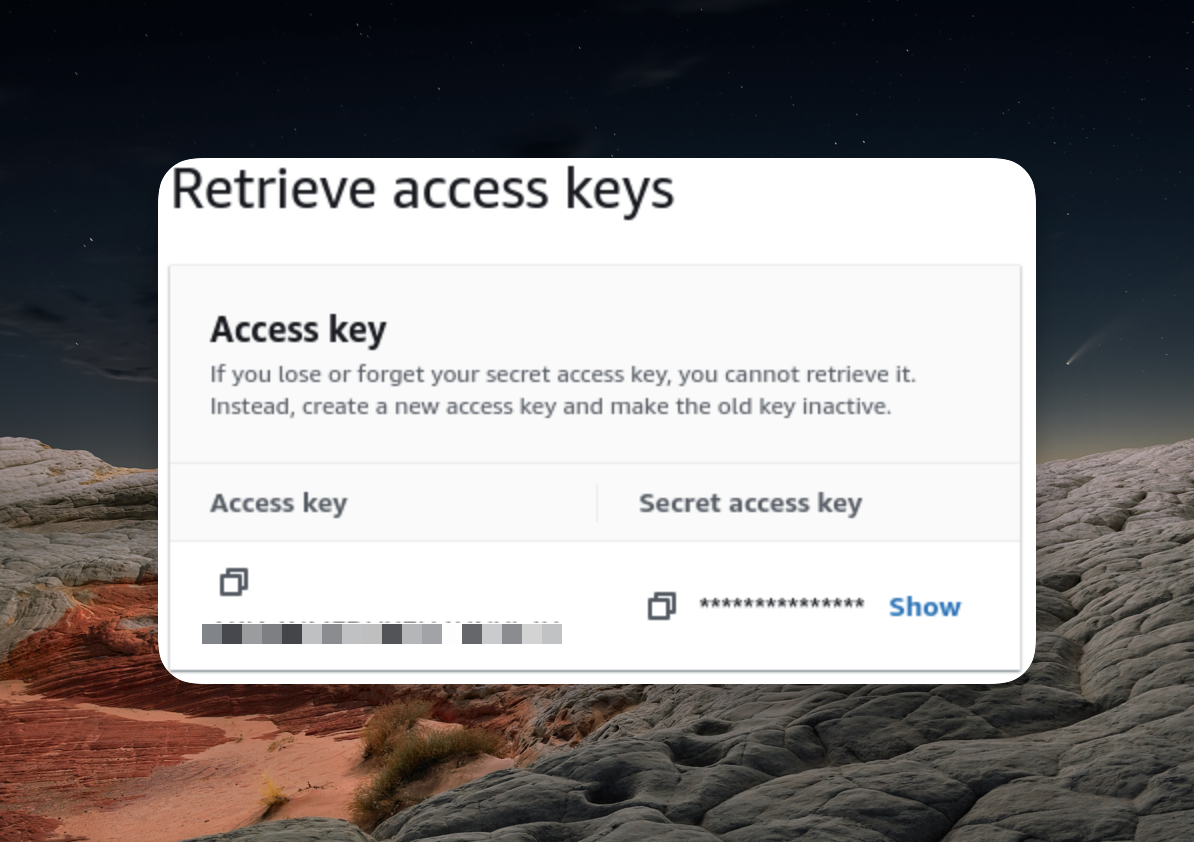
aws configure
command in the terminal and provide the access key and the secret access key we’ve just created.
Pushing the docker image
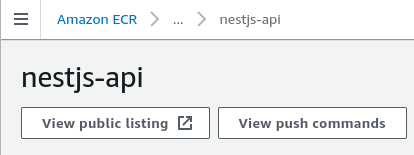
We can now proceed with executing the push commands provided in our ECR repository to upload the Docker image.
(Just open your terminal and copy/paste the command that shows in a push command window (You can see the above image) )
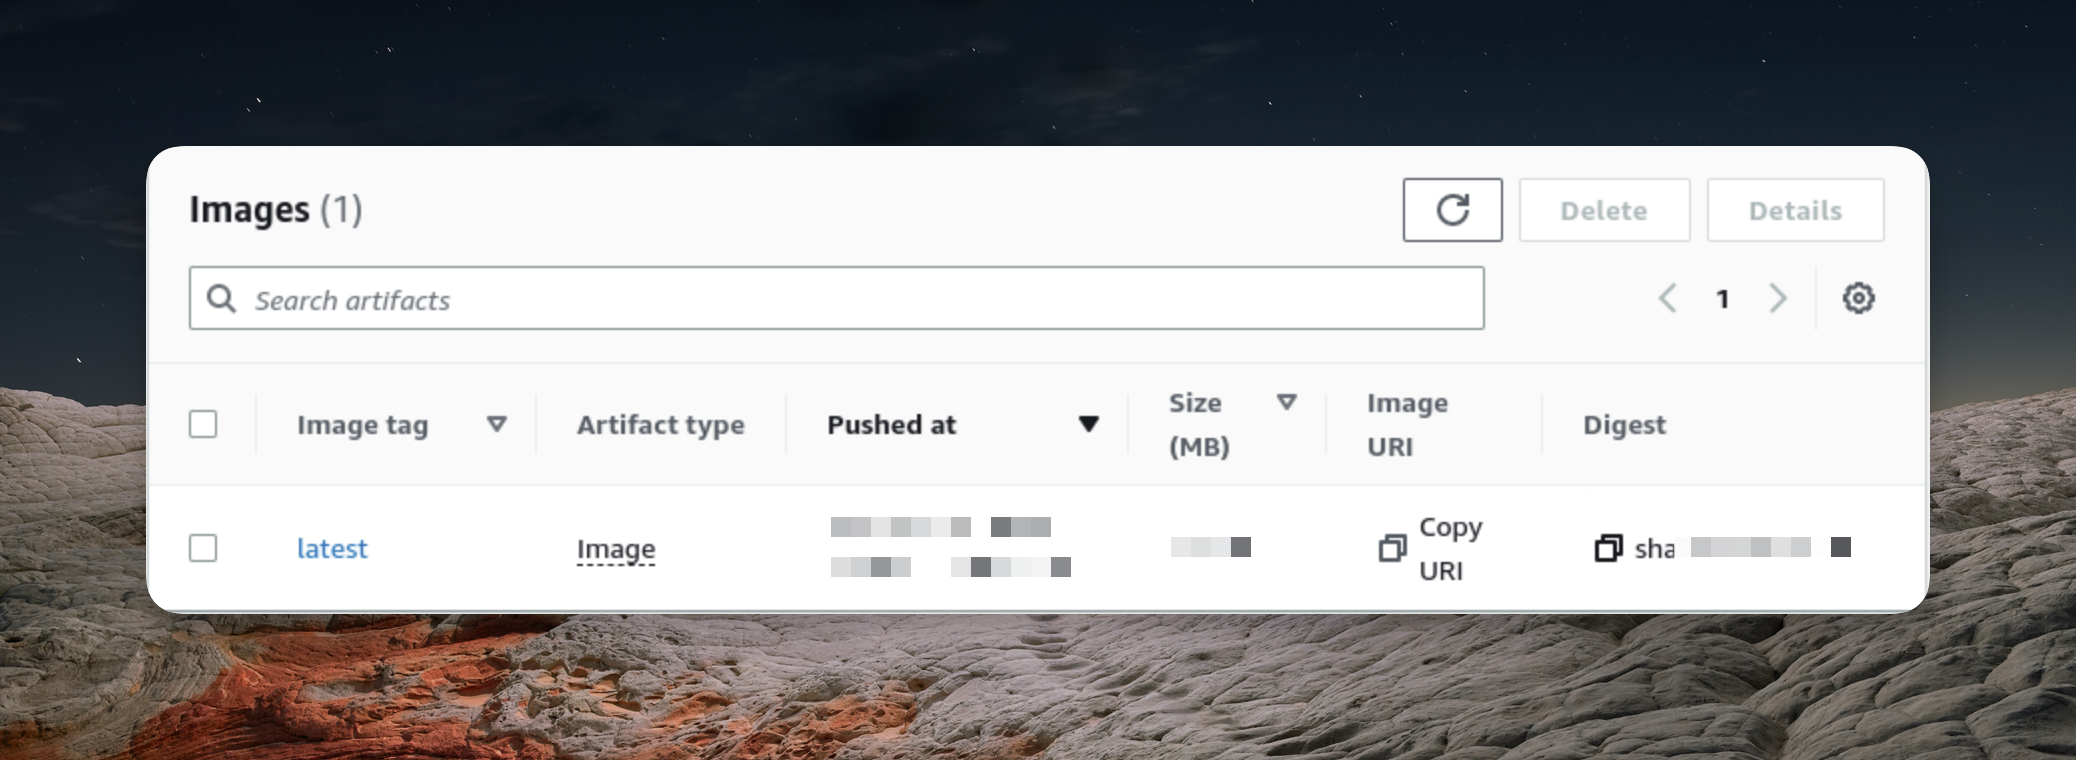
Once we successfully execute the aforementioned steps, our Docker image will become visible within the ECR (Elastic Container Registry).
Connect with ECS cluster
AWS offers the Elastic Compute Cloud (EC2) service, which allows users to launch virtual servers capable of running various applications. However, when using Docker with plain EC2, the process of installing and managing Docker manually on the server can be cumbersome.
To simplify this process, AWS provides the Elastic Container Service (ECS). With ECS, users can run a cluster consisting of one or more EC2 instances specifically designed to run Docker. The advantage of using ECS is that it eliminates the need for manual installation and management of Docker on the server.
It's important to note that ECS is not a replacement for EC2 but rather a complementary service. ECS and EC2 can seamlessly integrate with each other to enhance the functionality and capabilities of deploying Docker containers.
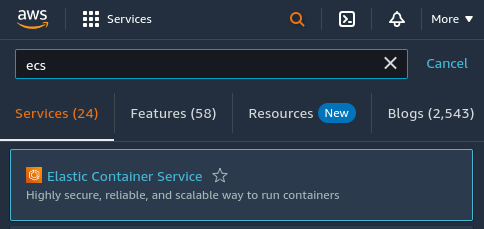
- To begin using ECS, the first step is to open the ECS interface in the AWS Management Console.
- Now, we have to create a cluster and give it a name.
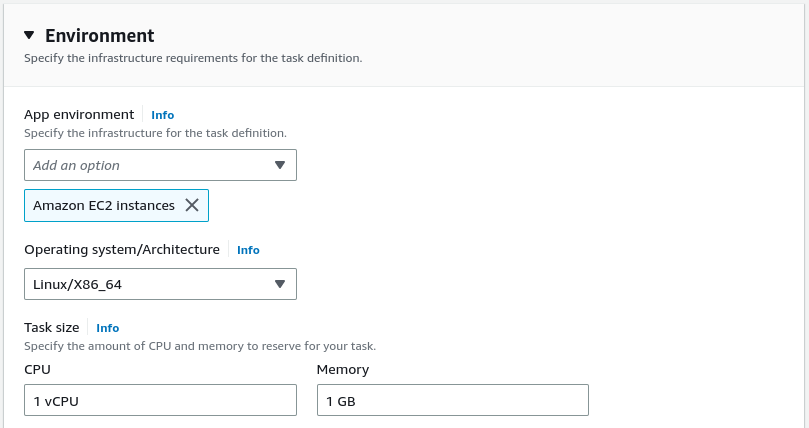
3.While leaving most of the configuration settings at their default values, it is essential to configure the cluster to utilize EC2 instances.

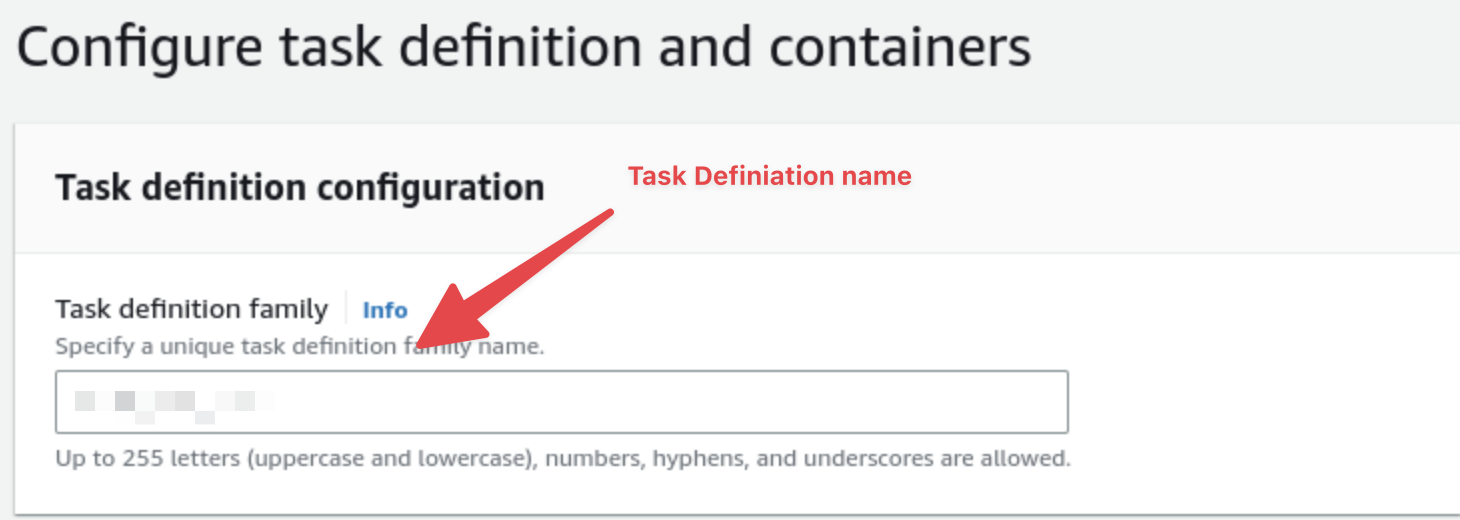
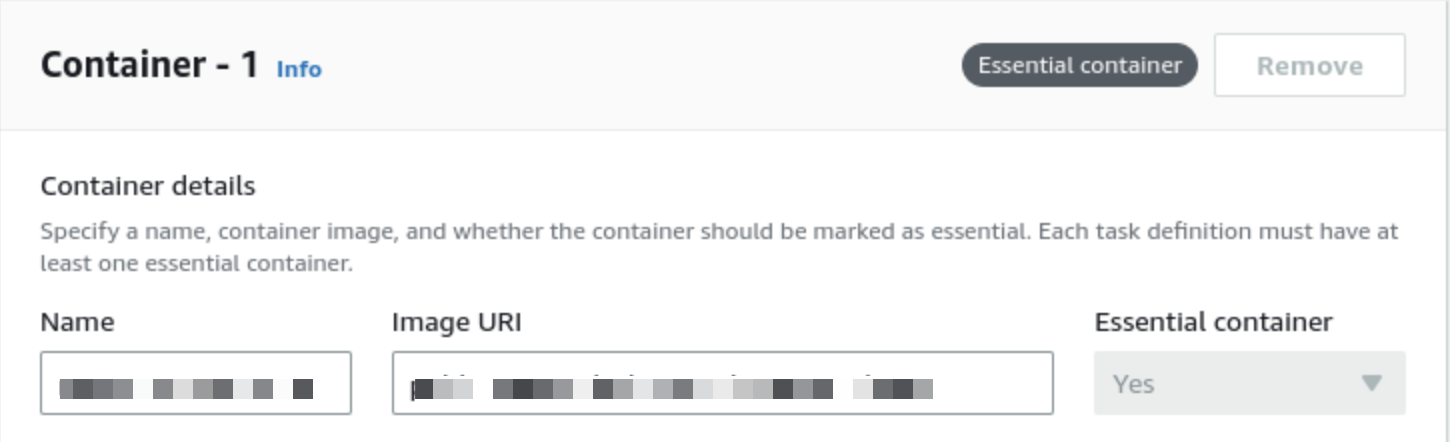
Creating a task definition
To run tasks within the ECS cluster, the Amazon ECS service requires a task definition. A task definition defines various parameters for running tasks, including the Docker image to be executed. In our case, we need to create a task definition specifically for running our Docker image.

Configuring static host port mapping
By default, when we enter the value "8080" in the port mappings within the aforementioned interface, AWS expects us to set up the dynamic port mapping. However, for the sake of simplicity, let's take a different approach.You can ream more on thin link.
To modify the configuration, we can make changes to the existing task definition we created earlier. This can be done by opening the task definition and clicking on the "Create new revision" button.
Once we have created a new revision of the task definition, we can proceed to the port mappings section and set the host port as "8080". This adjustment ensures that the application will be accessible through port 8080 when running in the ECS cluster.

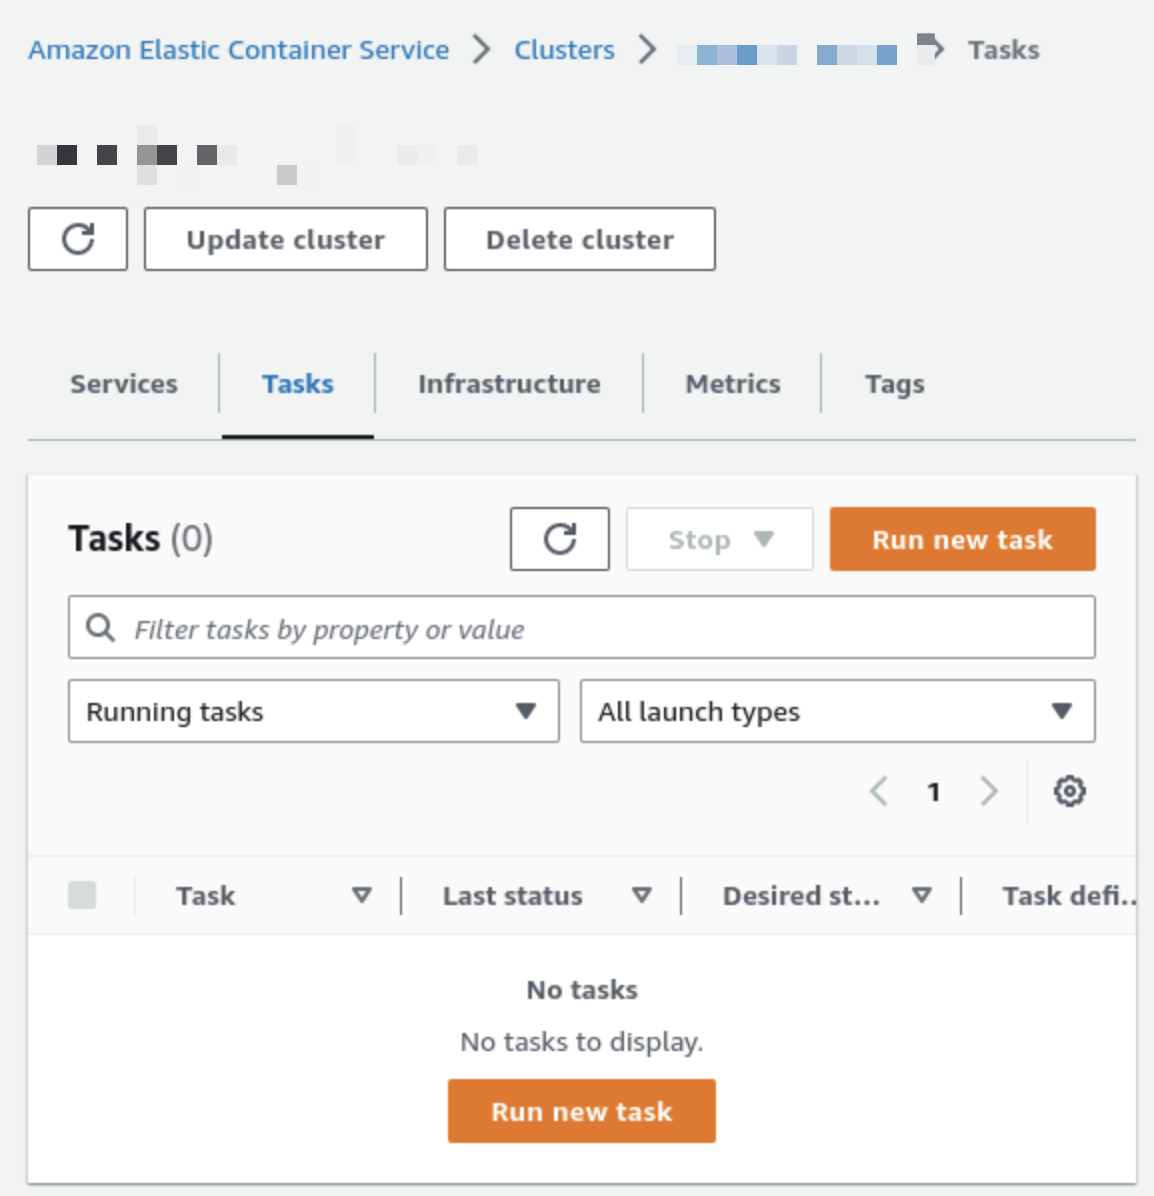
Running The Task On The Cluster
Once the task definition is properly configured and ready, we can proceed to open our ECS cluster and initiate a new task execution within it.

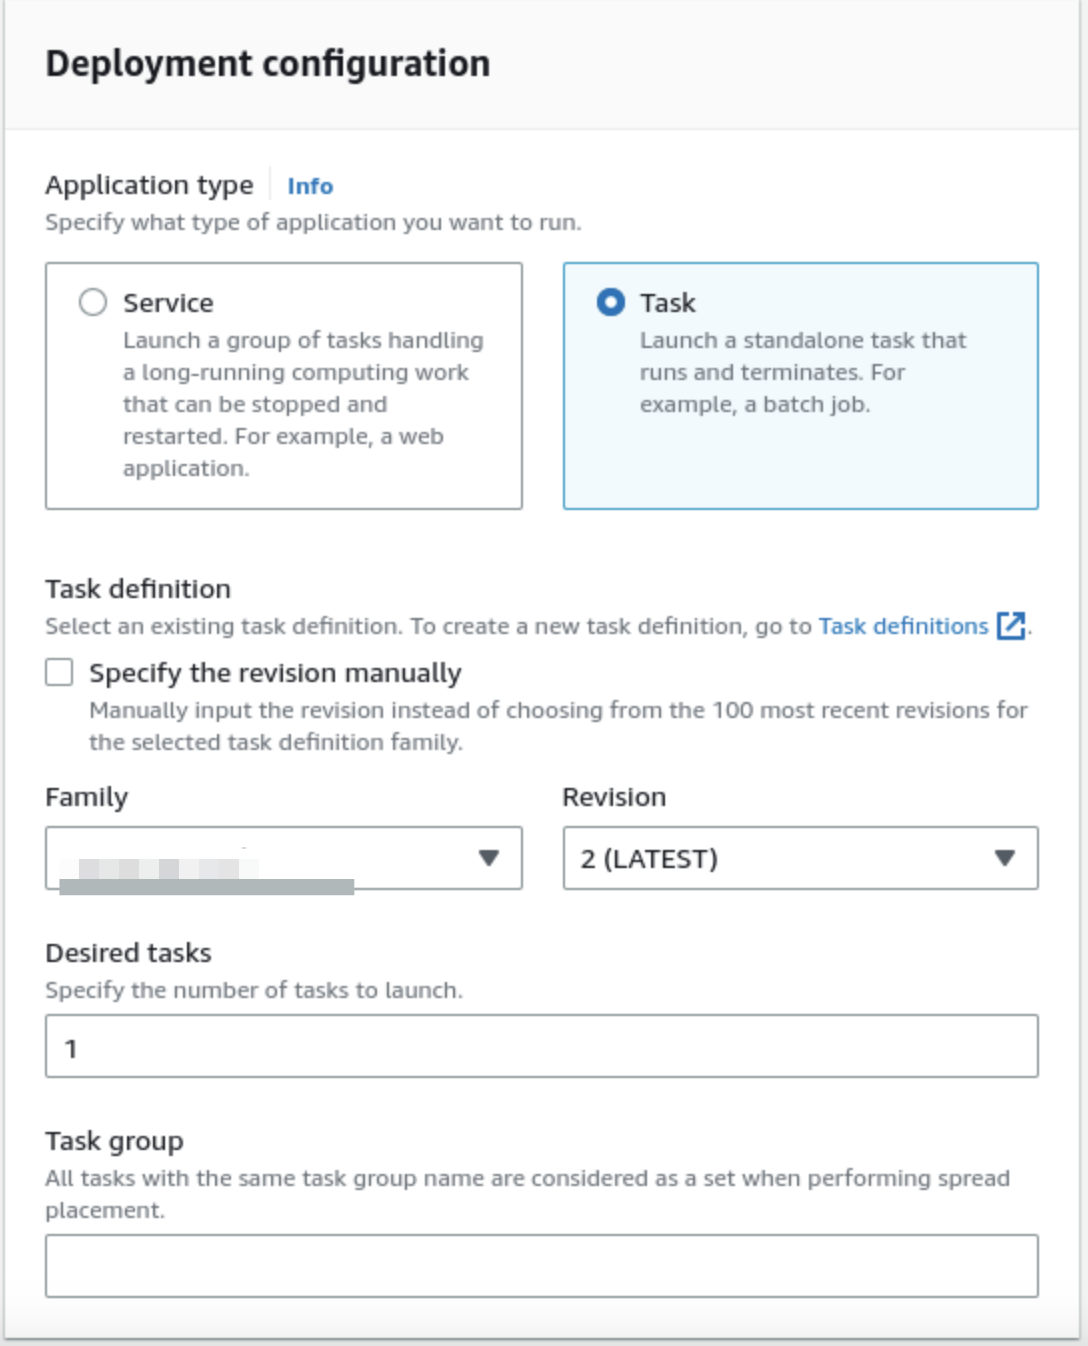
Please note that we are utilizing the second revision of our task definition, which incorporates the static host mapping approach.
After clicking the "Create" button, AWS will commence the execution of the task that we have defined. The ECS service will initiate the necessary processes to run the task within the cluster based on the provided configuration.
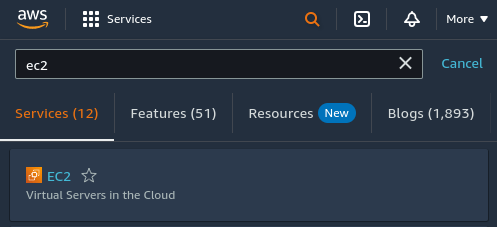
Accessing the API
To view the details of the EC2 instance created by our ECS cluster, we can navigate to the EC2 service in the AWS Management Console. By accessing the EC2 service, we can retrieve information about the instance, such as its configuration, networking details, and other relevant specifications.

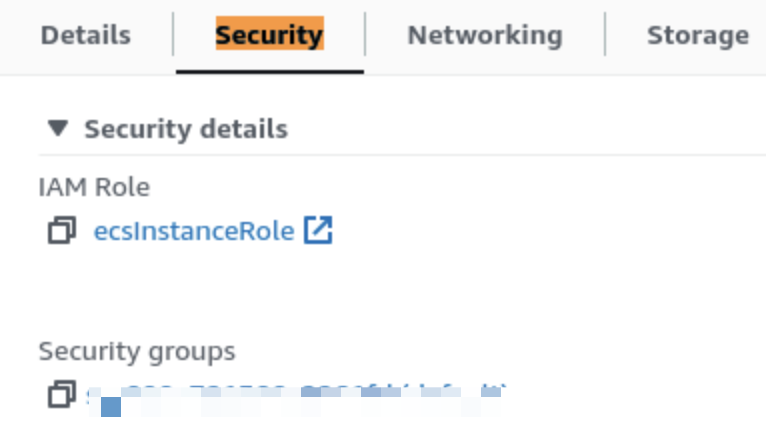
Setting up the security group
By opening the "Security" tab, you can access and modify the inbound and outbound rules of the security group, allowing you to control the traffic allowed to reach and leave the EC2 instance.
- On the configuration page of the security group, navigate to the "Inbound rules" section.
- Click on the "Edit inbound rules" button to modify the rules.
- Create two new rules:
- For the first rule, set the source to "Anywhere-IPv4" and select port 3000.
- For the second rule, choose "Anywhere-IPv6" and specify port 3000.
By creating these rules, you allow incoming traffic on port 8080 from both IPv4 and IPv6 sources. This enables external requests to reach your API running on the EC2 instance.

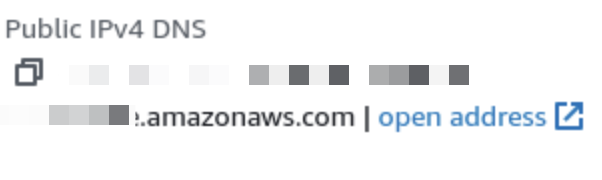
Once we do the above, we can start making HTTP requests to our API.
Summary
In summary, here are the steps we have covered in deploying a NestJS app with Amazon ECS and RDS:
- Pushing the Docker image to ECR: We pushed our Docker image to the Elastic Container Registry (ECR), a repository for storing Docker images.
- Creating a task definition: We created a task definition in ECS to define the parameters for running our Docker image, including the URI of the image in the ECR repository.
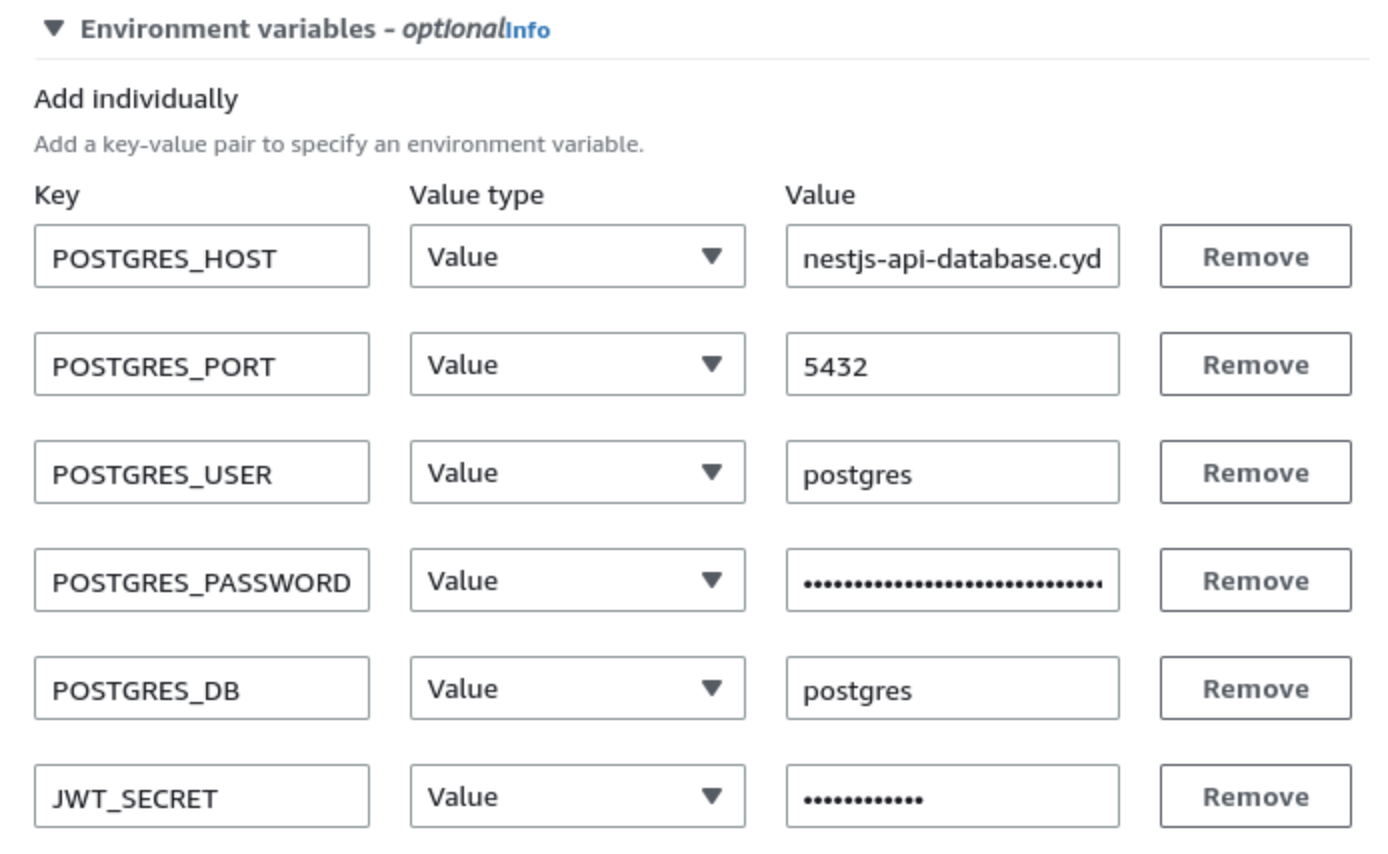
- Configuring the task definition: We configured the task definition to expose port 3000, where our NestJS application runs, and provided any necessary environment variables.
- Modifying the task definition: We modified the task definition to use static host mapping for port 3000 instead of dynamic port mapping.
- Running the task on the cluster: We ran the task on the ECS cluster using the specified task definition, allowing the application to run on the EC2 instances.
- Accessing the EC2 instance details: We accessed the EC2 service to view the details of the EC2 instance created by the ECS cluster, including the Public IPv4 DNS, which provides the address of our API.
- Configuring security group inbound rules: We modified the inbound rules of the default security group assigned to the EC2 instance, opening port 3000 for incoming requests from both IPv4 and IPv6 sources.
If you have any problem just put a comment and I try my best to answer it.See you in next one.

